Access
ArchibotChat access and SSO
Submit your identity provider details on the Single sign-on step so ISM can wire organization sign-in.
Last updated
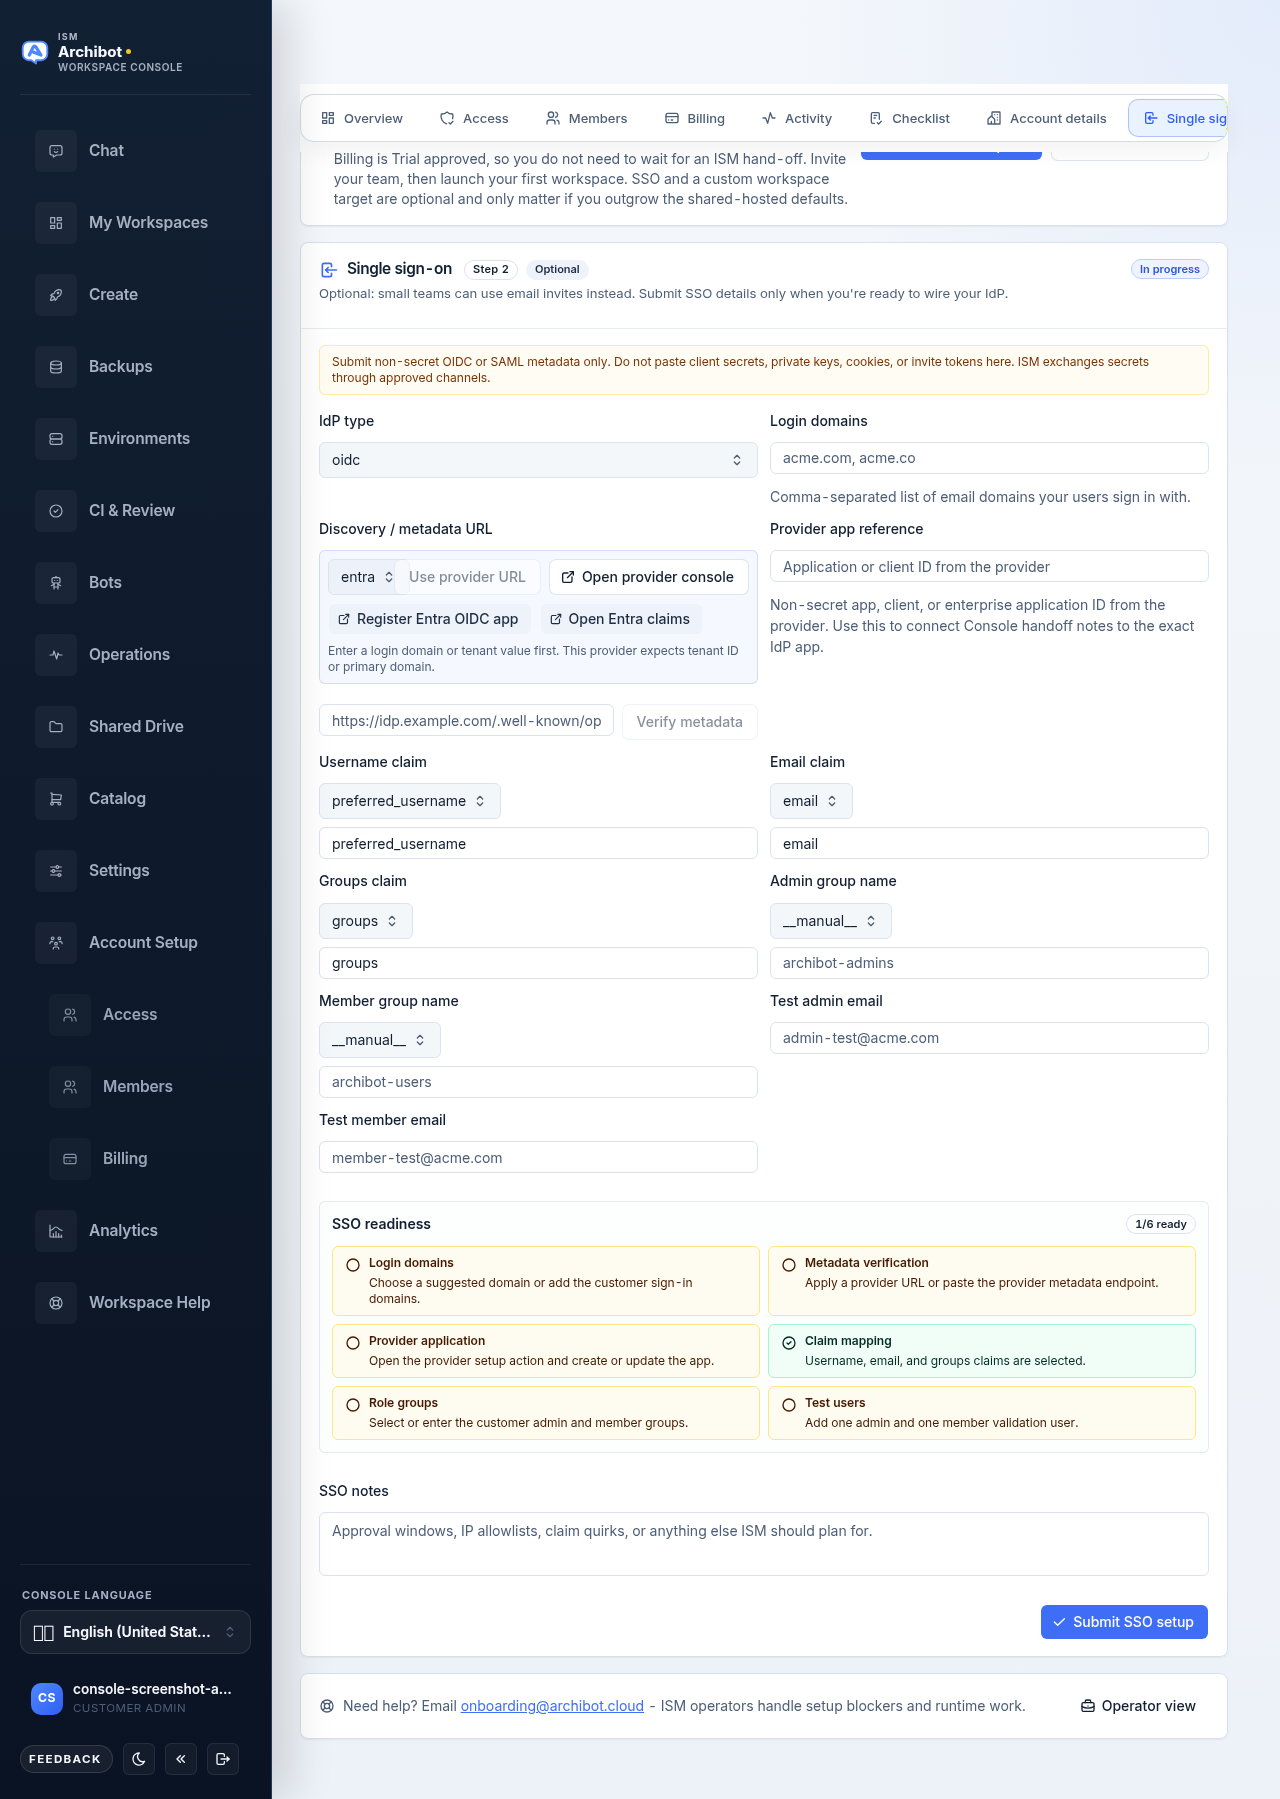
The Single sign-on step is where a customer admin hands ISM the non-secret details needed to wire your identity provider (IdP) to ArchibotChat and the Console. You submit metadata, claim mappings, and role groups; ISM completes the secret exchange through an approved channel and confirms when sign-in is ready to test.
This guide covers the form at the /account/sso route. It does not grant or change individual product access. For how product gates and billing decide what a signed-in user can open, see ArchibotChat setup and ArchibotChat billing and credits.
Before you start
- You must be a customer admin to submit SSO setup.
- Have your IdP admin available, or be the IdP admin yourself, so you can read app metadata.
- Know which email domains your users sign in with.
- Decide the protocol you will use: OIDC or SAML.
Small teams do not have to use SSO. The step is optional, and you can keep using email invites until you are ready to wire an IdP. Submit SSO details only when you intend to connect a provider.
Open the Single sign-on step
- Open the Console and go to Account Setup.
- In the Account Setup navigation, select Single sign-on.
- Read the safe-submission banner at the top of the step. It is a reminder that this form takes non-secret metadata only.
The step header shows its status (Not started, In progress, Needs review, or Ready) and, for self-serve accounts, an Optional marker.
Choose your IdP type and login domains
- Set IdP type to one of:
- OIDC for OpenID Connect providers.
- SAML for SAML 2.0 providers.
- No SSO yet (use invite emails) if you are not ready to connect a provider.
- In Login domains, enter a comma-separated list of the email domains your users sign in with, for example
example.com, example.co. If Console already knows domains for your account, you can pick one from the lookup to append it.
Changing the IdP type or domains clears any earlier metadata verification result, so re-verify after you adjust them.
Point Console at your provider metadata
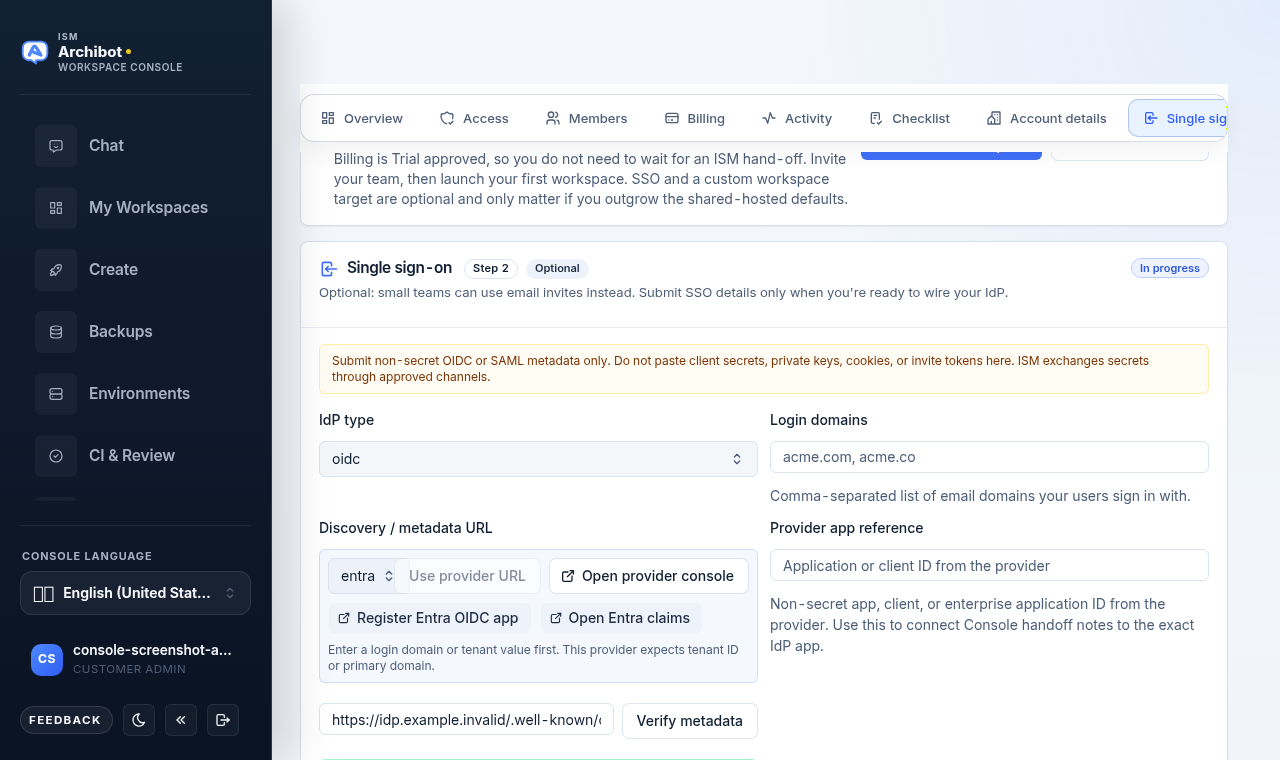
The Discovery / metadata URL row helps you find and confirm the right metadata URL.
- Pick your provider from the preset list. Presets include Microsoft Entra ID, Okta, Google Workspace, Auth0, OneLogin, and Other provider. Each preset shows the host hint it expects, such as a tenant ID or
company.okta.com. - Select Use provider URL to fill the metadata field with a suggested discovery URL built from your provider and domains. If the suggestion cannot be built yet, Console tells you what to enter first (a login domain or tenant value).
- Select Open provider console to open the provider’s admin console in a new tab.
- Some presets add provider-specific setup handoff buttons (for example, opening the app registration or claims screen). Use these to jump straight to the screen where you create or inspect the IdP application.
- If you already have the exact metadata URL, type or paste it into the metadata field instead, for example
https://idp.example.com/.well-known/openid-configuration.
Console builds suggestions and links from your selections only. It does not read or store secrets.
Verify the metadata
- Select Verify metadata. Console reaches the provider metadata URL and checks for the expected fields. The button shows Verifying… while it runs.
- Read the result panel below the field:
- Metadata verified means Console reached the provider and found the expected fields. It shows the discovered issuer or entity ID so you can confirm it matches your provider.
- Metadata needs attention means Console could not verify the metadata. Re-check the URL, domain, and protocol, then try again.
Verification is read-only. It confirms the URL is reachable and well-formed; it does not finish the connection.
Map claims and role groups
ISM uses these values to map signed-in users to the right identity and roles. Each field accepts common values from a quick-pick list or your own entry.
| Field | What it is | Example |
|---|---|---|
| Provider app reference | Non-secret app, client, or enterprise application ID from your provider | 00000000-0000-0000-0000-000000000000 |
| Username claim | Claim that carries the username | preferred_username |
| Email claim | Claim that carries the email address | email |
| Groups claim | Claim that carries group or role membership | groups |
| Admin group name | Group whose members become Archibot admins | archibot-admins |
| Member group name | Group whose members become standard members | archibot-users |
| Test admin email | An admin account ISM can use to test sign-in | admin-test@example.com |
| Test member email | A member account ISM can use to test sign-in | member-test@example.com |
The provider app reference is a non-secret identifier only. It lets ISM tie Console handoff notes to the exact IdP application. Do not enter a client secret here.
Read the SSO readiness panel
Below the fields, the SSO readiness panel summarizes how complete your submission is, with a ready/total badge. Each tile turns ready as you fill the matching detail:
- Login domains — at least one sign-in domain is set.
- Metadata verification — a metadata URL is present and verified.
- Provider application — a provider app reference is supplied.
- Claim mapping — username and email claims are mapped.
- Role groups — admin and member groups are named.
- Callbacks — the provider-side callback setup is accounted for.
- Test users — at least one test account is supplied.
You do not have to reach every item before submitting, but a fuller readiness summary lets ISM finish faster.
Submit your SSO setup
- If you need a temporary password fallback for an approved user who cannot complete device MFA yet, set the Password fallback option to request it. This is only available when password fallback is enabled for your account, and ISM must approve and enable the policy before it changes login behavior.
- Add anything ISM should know in SSO notes, such as a maintenance window or a provider quirk.
- Select Submit SSO setup.
Console confirms the submission and tells you ISM will reach out once the configuration is ready to test. ISM completes the connection and exchanges any secrets through an approved channel, never through this form.
What not to put in this form
The Single sign-on step takes non-secret OIDC or SAML metadata only. Do not paste:
- Client secrets or signing keys.
- Private keys or certificates that contain private material.
- Cookies, session tokens, or invite tokens.
- Passwords.
If ISM needs a secret to finish the connection, they request it through an approved channel.
After you submit
- ISM reviews your submission and reaches out to confirm or ask follow-up questions.
- Once the connection is live, your users sign in through your organization on the ArchibotChat URL.
- Signing in successfully is not the same as having a product enabled. Product gates and billing still decide what each user can open. See ArchibotChat setup.
Related guides
- Customer admin setup
- ArchibotChat setup
- ArchibotChat getting started
- ArchibotChat troubleshooting
- Access roles
Done When
- You can open the Single sign-on step under Account Setup.
- Metadata verification returns a verified result.
- SSO readiness shows the items you care about as ready.
- Your SSO setup is submitted to ISM without any secrets.