

Getting Started
Get started with ArchiBot
A short route for new teams. Sign in, finish account setup, connect Git, create and open your first workspace, try ArchiBot Chat, and know where to get help.
Zuletzt aktualisiert
This page is a route through the ArchiBot guides for a new team. It lists the steps in the order most teams take them and links each step to the guide that holds the full detail. For a tour of every Console area, see Welcome to ArchiBot. For the complete list of guides, see All guides.
Choose your starting point
| If you are | Start with | Then |
|---|---|---|
| A team admin setting up a new team | Customer admin setup | Create a workspace |
| A team member joining an existing team | Sign-in, members and access roles | Create a workspace |
| A platform operator at ISM | Tenant admin for operators | Manage workspaces |
| Here to use ArchiBot Chat | ArchiBot Chat getting started | Using ArchiBot Chat |
1. Sign in
- Open the Console address ISM gave you.
- Choose Sign in to Console, then your organization’s provider (often Login via IdP). New organizations choose Create a new organization, and invited people choose Accept an invitation.
- Sign in with your work identity.
After sign-in, accounts that are set up for Chat with credits available open Chat. Everyone else lands on My Workspaces. A login that isn’t on a team yet goes to Account Setup (or, for operators, to Access) until setup is done.
If sign-in fails, Console shows Access needs attention with the options that fit the problem. See Sign-in, members and access roles.
2. Team admins: finish Account Setup
Account Setup (/account) is where a team admin gets a team ready for its first workspace. Open it from Members & access in the navigation. The first ten minutes:
- Open Account Setup. The Overview shows the steps grid and “N/M steps complete”.
- In Account details, confirm the team name, contacts and intent, then choose Save account details.
- In Members, invite at least one teammate so you have a backup admin.
- If your team uses an identity provider, submit it in Single sign-on. Otherwise keep using email invitations.
- In Billing, confirm billing is verified or trial-approved.
- In the Overview’s Git access step, choose Open Git access settings and connect a repository provider.
- In Workspace target, confirm the target shows Ready and not Waiting on ISM.
When billing is verified or trial-approved on a small-team plan, a You’re cleared to self-serve banner appears. You don’t need to wait for ISM: invite your team and launch a workspace. Full detail: Customer admin setup.
Team members don’t see Account Setup. Members & access takes them to Account access.
3. Connect Git, or plan a WAR start
Git-based workspaces clone a repository, so connect a provider once before you create one.
- In Settings → ArchiBot account → Git Access, connect one provider. GitLab, GitHub, Bitbucket and Azure DevOps are supported, with browser sign-in (OAuth) or a saved token, depending on the provider.
- One usable connection is enough. A connection counts when Git Access shows it as Ready, Saved or Needs review.
If you don’t need Git, choose Create from a WAR file instead to start from a WebCentral WAR artifact. No Git connection is needed. See Settings: Git Access and Set up Git first.
Never put a token or private key in a repository URL, the workspace comment or a support request.
4. Create your first workspace
- Open My Workspaces and choose New workspace (
/create). - Work through Workspace setup steps in order: Template, Repository (or Workspace source for a WAR), Branch, commit or merge request, Where it runs, Name, Database and More options.
- Watch the Summary card. It says what is still missing (“1 thing left: …”) and reads “Ready to create.” when you can choose Create workspace.
If a template shows Unavailable, or a step shows Needs a team admin, ask your team admin. Only an admin can publish a template or add a target. See Create a workspace and Product Catalog and readiness.
5. Open it and start working
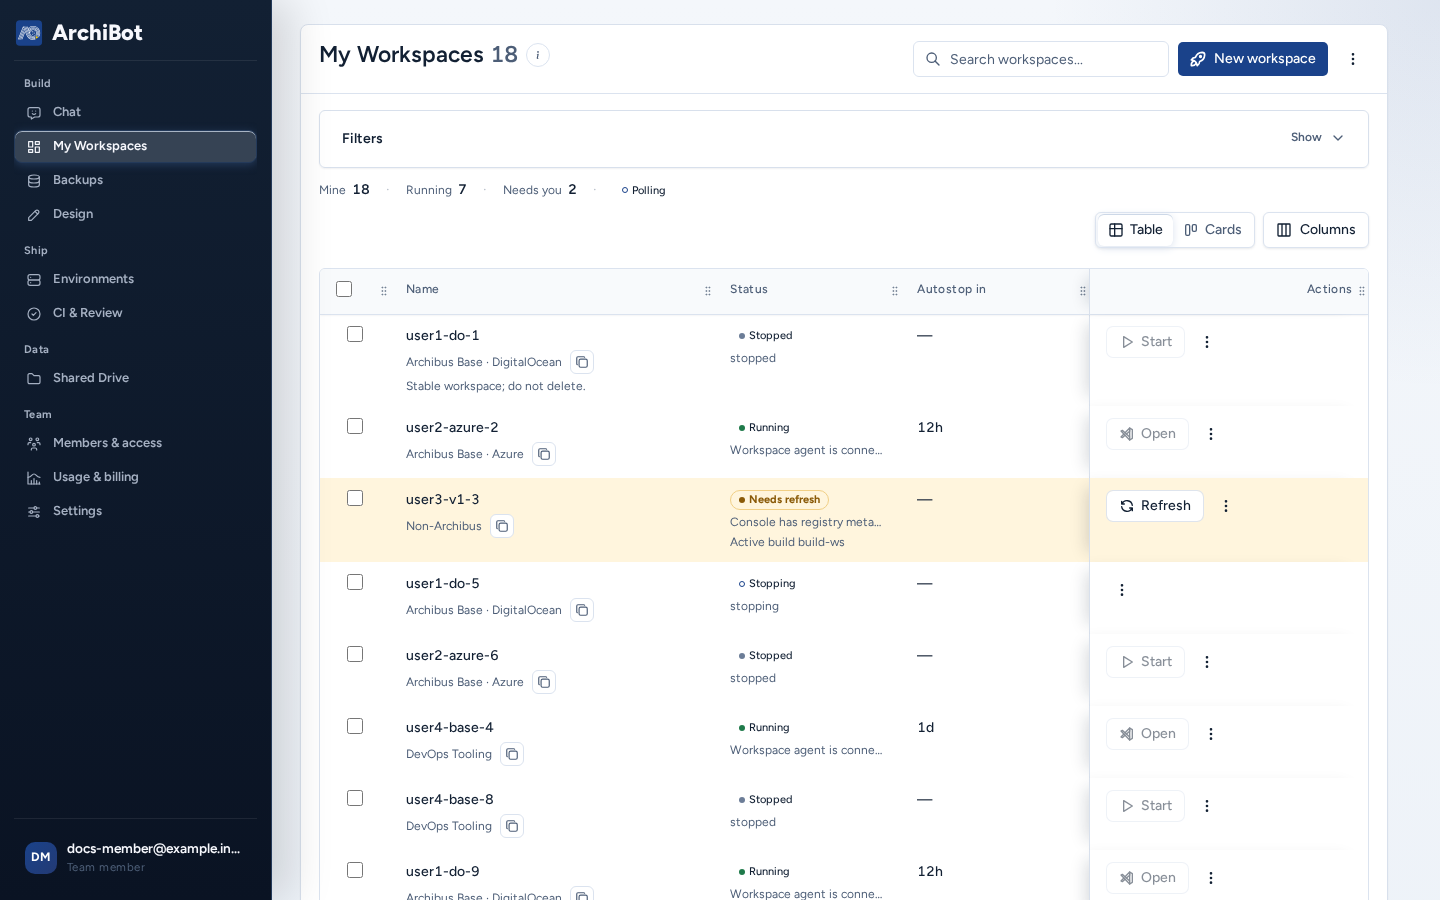
- In My Workspaces, find the workspace. It must be Running. If it isn’t, choose Start and wait.
- Choose Browser to open the in-browser editor in a new tab.
- For another client, open the Connect menu: Archibot Desktop, Coder Remote (legacy), JetBrains Gateway or SSH config.
The workspace link at /w/<workspace-id> does not start a stopped workspace. Next guides:
- Open a workspace for workspace links and what to do when one fails.
- Work inside your workspace for the editor, logs, git and where your files live.
- Use the ArchiBot VS Code extension and Use the workspace bot.
- Manage workspaces to start, stop, update, schedule and delete.
6. Try ArchiBot Chat
ArchiBot Chat is part of Console. Open Chat from the left navigation. No API setup is required to start chatting.
- You need the Chat product area enabled on your account and a paid, trial or operator-approved billing state with a credit balance.
- The first time, open Setup from the header’s vertical dots menu to confirm your account access, plan and credential readiness. The menu also shows Chat enabled and your remaining credit balance.
- A chat message that asks ArchiBot to respond debits one credit from your balance.
- Use chat only for data your organisation has approved for hosted ArchiBot Chat. See ArchiBot Chat approved data use.
Start with ArchiBot Chat getting started and ArchiBot Chat setup.
7. If something goes wrong
| Symptom | First step | Guide |
|---|---|---|
| An expected area is missing | Check your role on the account chip, then sign out and back in. | Access roles |
| An invitation fails | Sign in with the invited email address. | Access roles |
| Create is blocked | Read the Create Summary’s “N things left”. | Create a workspace |
| A workspace won’t open | Check that it is Running, then choose Retry. | Open a workspace |
| Anything else | Note the page, time and error text. | Troubleshooting |
To ask ISM for help, open a sanitized case from the Support tab or use the Feedback button. See Support handoff and Sending feedback.
Safe information sharing
Share company contacts, repository locations, backup choices, non-secret identity-provider details, role expectations and visible Console error messages. Never share passwords, private keys, API keys, cookies, tokens, invitation links, webhook secrets, database URLs, payment details, cluster credentials, or screenshots that show them.
Fertig, wenn
- You can sign in through the identity provider your team uses.
- Team admins have finished Account Setup and connected Git, or chosen to start from a WAR file.
- Your first workspace shows Running and opens in the browser.
- You know where to find troubleshooting and support.